You've just finished dinner, the dentures are out, and there's a tablet in one hand, a glass of water in the other, and maybe a bleach recipe you found online sitting open on your phone. That moment is exactly where most new denture wearers get stuck. The right denture soaking solution depends on what your dentures are made of, how long they need to soak, and what kind of cleaning job you're trying to do.
A simple rule helps from the start. Water keeps dentures moist, while a mild denture-soaking solution adds cleaning and disinfection, but not every solution suits every denture. The safest night routine starts with brushing, then soaking, then thorough rinsing before the dentures go back in the mouth, because soaking alone is not enough and hot water can warp the appliance (Australian Dental Association denture care guidance).
If you're sorting out your first month of denture care, this guide will answer three questions clearly. What a denture soak does, which soaking solution suits which denture material, and when a problem has moved beyond home care and needs a dentist. For readers who also wear appliances like mouthguards or splints, this guide to mouth splint care gives a helpful point of comparison for overnight cleaning habits.
The Nightly Question Every Denture Wearer Asks
A person takes their dentures out after dinner, stands over the sink, and hesitates. The tablet on the counter looks official, the glass of water looks harmless, and the bleach recipe from a social media post looks cheap enough to be tempting. That pause makes sense, because each option seems useful at first glance, but each one is meant for a different job.
The first thing to sort out is storage and cleaning. Water keeps dentures from drying out and losing shape, while a chemical denture soaking solution helps loosen deposits and reduce microbes while the appliance is out of the mouth. Australian guidance says dentures should be soaked overnight in water or a mild soaking solution, and they still need daily brushing to remove plaque, stains, and calculus.
Practical rule: If the denture only needs to stay moist, water is enough. If the goal is to clean, disinfect, or freshen it, choose a product that suits the denture material and follow the contact time on the packet.
A lot of the confusion comes from online advice that treats every denture the same. A full acrylic denture, a partial with a metal framework, a soft liner, and an implant overdenture can all react differently to the same soak, just as different fabrics react differently to the same wash cycle. That is why the safer question is, “Which cleaner is safe for this denture?” For readers who want a broader reminder about why routine prevention matters, this preventive dental care article is a helpful companion read.
A mouthguard gives the same basic lesson. The rinse, brush, and storage step all matter, but the cleaning method has to suit the material, or the appliance can wear out faster. For a closer comparison, this guide to mouth splint care shows how overnight cleaning habits change from one appliance to another.
Once that distinction is clear, the nightly routine is easier to judge. You are choosing the right soak for the right material, for the right amount of time.
What a Denture Soaking Solution Actually Does
A denture soaking solution is the liquid you use while the denture is out of your mouth to keep it moist and help clean its surface. That can mean plain water, a commercial effervescent tablet mix, a dilute bleach recipe for certain full acrylic dentures, or another cleanser chosen for a specific material. The goal is more than putting the denture in a cup. The liquid needs time to reach the spots a toothbrush cannot get into easily.
A denture works a bit like a sports mouthguard after practice. Brushing clears away surface debris, while the soak reaches seams, grooves, and small irregularities where residue can cling. That matters because denture surfaces can hold biofilm in the same way natural teeth do. Good daily cleaning helps reduce the risk of denture-related stomatitis, which the ADA denture care guidance discusses in practical terms.
A soak can do four jobs at once. It helps prevent warping by keeping the appliance moist. It can loosen biofilm so brushing works better. It may reduce microbial load, which matters for comfort and hygiene. It also helps lift stains that would otherwise stay on the surface. The soak supports the cleaning routine, but it does not replace the brush.
Key takeaway: Soaking is a storage and cleaning step, not a substitute for brushing. Daily brushing still matters because residue left behind can keep feeding the problem.
That is why overnight soaking is usually paired with brushing before bed. The brush clears stubborn surface debris, and the soak keeps the denture hydrated while adding a chemical cleaning step if the product is meant for that purpose. For a broader reminder about why home care works best when cleaning and storage are both handled well, this preventive care article makes the same point in a wider oral health context.
The Four Main Types of Soaking Solution Compared
The shelves in a pharmacy can make this feel more complicated than it is. Most products fall into four families, and each one has a different balance of convenience, strength, and material risk. The safest choice depends less on the label's promises and more on what the denture is made of.
Effervescent tablets
These are the everyday default for many wearers. They're designed to be dropped into water, where they fizz and release cleaning agents that help with stains and surface debris. A PubMed-indexed study found that overnight immersion in effervescent tablet solutions reduced Candida spp. and lowered total bacterial load and specific bacteria, although the authors also cautioned that long-term overnight use may damage denture bases (study on overnight immersion).
The drawback is that “gentle” doesn't mean “use forever without checking”. The benefit is real, but long-term use and product choice still matter.
Dilute sodium hypochlorite
This is household bleach used in very controlled dilution, and it can be effective for certain full acrylic dentures. The Illinois Department of Public Health gives a specific example, 1 teaspoon of bleach in 1 cup of water, soaked for 30 minutes, then thoroughly rinsed before reinsertion, and it warns against using that method on partial dentures with metal clasps (IDPH denture care guidance).
The drawback is obvious, bleach is easy to misuse and can damage some materials. Time and material compatibility matter more here than with a tablet soak.
Chlorhexidine-based solutions
These are usually seen as a short-course option when a dentist wants closer microbial control. They're not the kind of product you should use casually on every denture every night. The main caution is that they should be used only in the way the dentist has advised, especially if the denture has soft components or special fittings.
Enzyme or probiotic cleaners
These are often marketed as a gentler nightly maintenance choice. They're appealing because they sound less harsh than bleach and less aggressive than some chemical cleansers. Their drawback is that they may not be the best answer when the denture has heavier staining or a more complex material mix.
Practical rule: The solution on the box matters less than whether it's safe for your denture base, clasps, liners, and attachments.
For readers who also care for other removable appliances, this night guard cleaning guide shows the same principle in a different setting, the material decides the cleaning method.
A Safe Step-by-Step Soaking Routine
A safe routine starts before the denture reaches the soaking cup. Brush it first, because a soak works more evenly on a clean surface than on food, plaque, or dried saliva. Then rinse it, so the cleanser is not trying to break through debris that should already be off the denture.
Use a clean container with enough solution to fully cover the denture, and keep the water cool, about 20 to 25°C, so the cleanser stays in its intended range (denture overnight maintenance guidance). Submerge the denture completely, including the palatal surface, borders, and chewing surfaces. If it floats, settle it gently until it stays under the liquid, because any exposed area gets less cleaning.
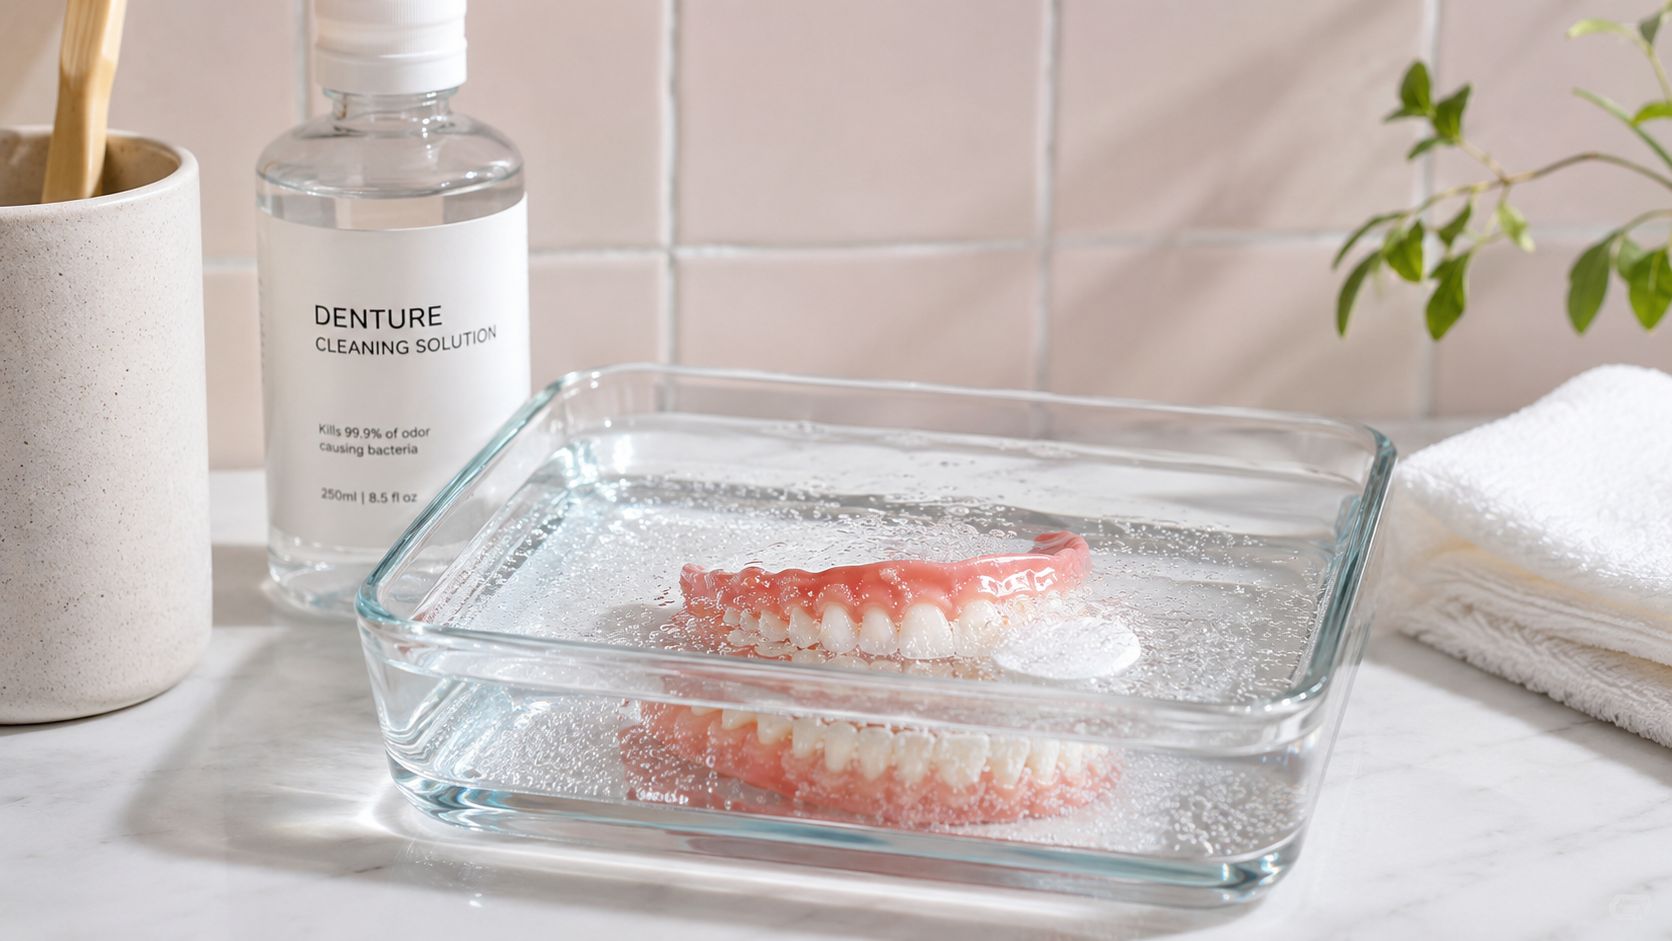
For tablet solutions, leave the denture in place for 6 to 8 hours, which gives the active ingredients time to work through the biofilm instead of only loosening surface debris. Rinse the denture well under running water before it goes back in the mouth, because leftover cleanser can cause vomiting, pain, or burns if it is swallowed (Mayo Clinic denture care guidance). Do not reuse yesterday's solution, and do not add fresh cleanser to old liquid. Hot or boiling water is also a bad idea, because heat can warp acrylic.
Do this tonight: brush, rinse, soak, rinse again, then store the denture in the right medium until morning.
Bleach and chlorhexidine follow different rules from all-night tablet soaks. They are usually shorter-contact products in routine guidance, while tablet solutions are the ones commonly used for overnight immersion. For anyone who cares for other removable appliances too, this mouth splint cleaning guide shows the same pattern, storage and rinsing matter just as much as the cleanser.
| Solution Type | Typical Dilution | Recommended Soak Time | Notes |
|---|---|---|---|
| Effervescent tablet | Per packet directions | 6 to 8 hours | Good for overnight use when the material is compatible |
| Dilute bleach | 1 teaspoon in 1 cup water | 30 minutes or less | Do not use on metal clasps |
| Chlorhexidine | Dentist-directed | Short course only | Follow professional advice closely |
| Enzyme cleaner | Per packet directions | Usually overnight if approved | Check material compatibility first |
Matching the Solution to Your Denture Material
A denture soak is only useful if it matches the material in your mouth. A cleanser that helps one appliance can stain, weaken, or distort another, even if the two pieces look almost the same on the bathroom counter. Start by checking the base, any metal parts, soft liners, and attachments before you choose a solution.
Acrylic, metal, soft liner, and implant cases
Plain acrylic full dentures are usually the simplest to care for. They often work well with effervescent tablets, and some can also handle a short bleach soak if the product directions and cleaning guidance are followed closely. Gentle handling, thorough rinsing, and cool water still matter, because heat and leftover cleanser can create avoidable problems.
Partial dentures with cobalt-chrome clasps need a different approach. Bleach can tarnish or pit metal, so it should be left out of the routine for partials that rely on metal clasps. Soft liners and tissue conditioners are more delicate still, so they often need a dentist-approved option rather than a standard overnight soak.
Implant overdentures should be treated as their own category. Locator and bar attachments can react badly to the wrong cleanser, so the safest routine is the one your prosthodontist or dental team gives you. For a fuller explanation of the cleaning approach used with implant-supported dentures, this All-on-4 implant care article is a helpful reference.
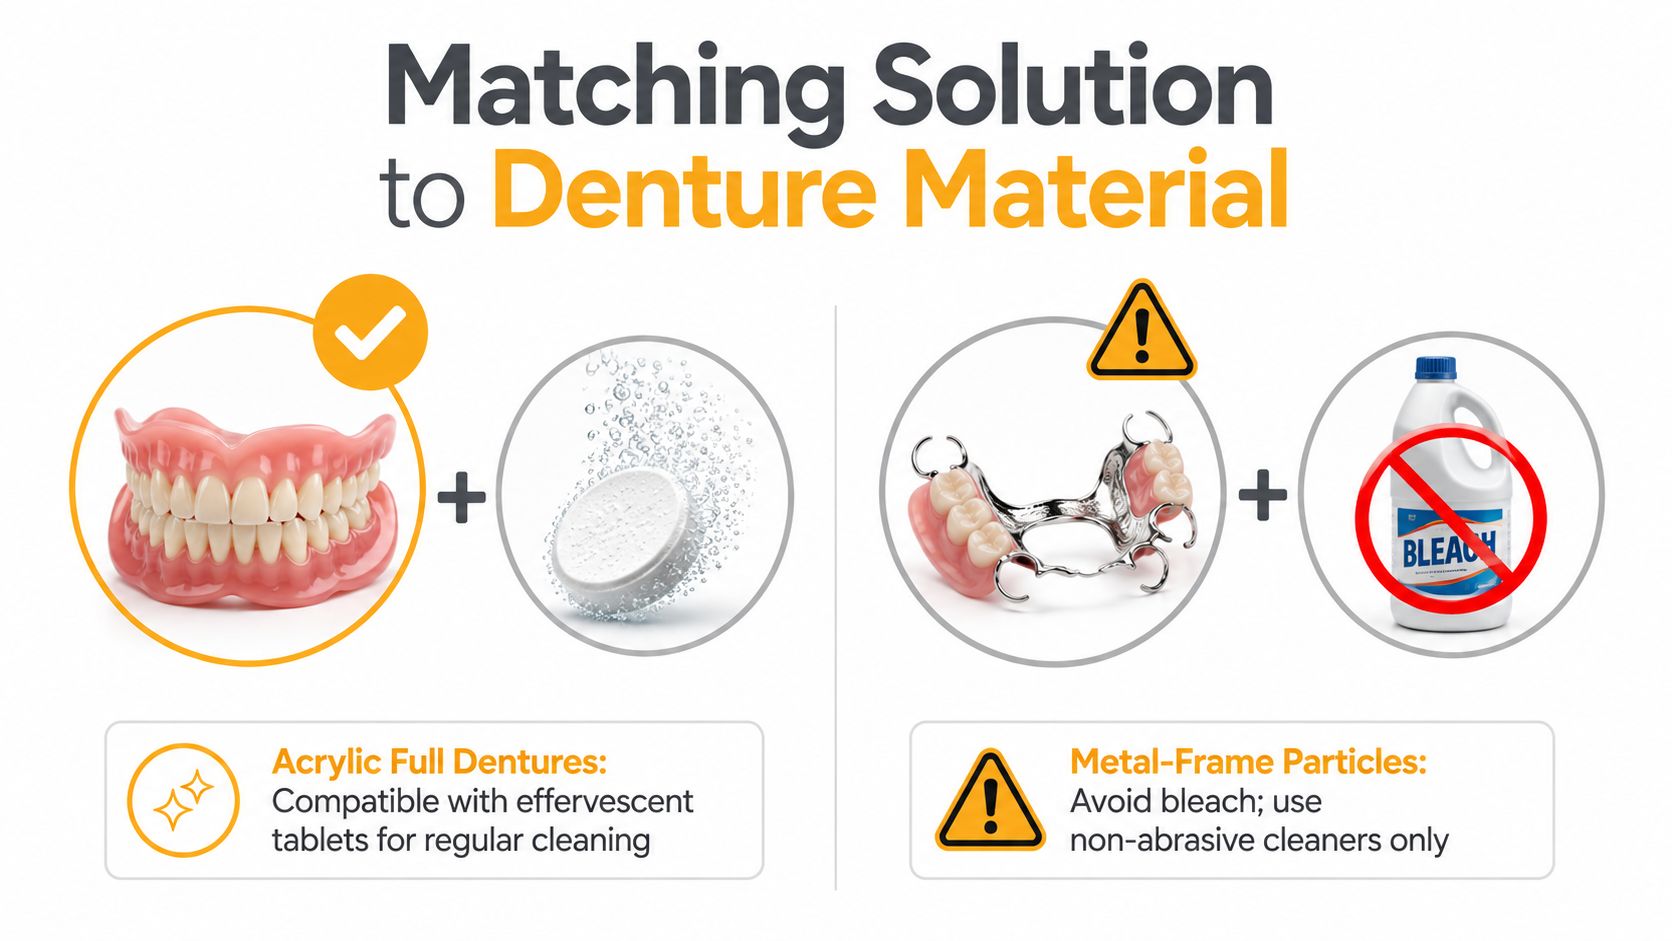
Simple check: If your denture has metal, a soft liner, or implant parts, do not assume the same soak that works for a basic acrylic denture will be safe for yours.
| Denture Type | Effervescent Tablet | Dilute Bleach (≤10 min) | Chlorhexidine | Enzyme Cleaner |
|---|---|---|---|---|
| Acrylic full denture | Usually suitable | Sometimes suitable with care | Dentist-directed | Usually suitable if approved |
| Metal-frame partial | Usually suitable | Avoid | Dentist-directed | Usually suitable if approved |
| Soft liner or tissue conditioner | Dentist-directed | Avoid | Dentist-directed | Dentist-directed |
| Implant overdenture | Dentist-directed | Dentist-directed | Dentist-directed | Dentist-directed |
The material matters more than the brand name on the box. A solution that is fine for a basic acrylic appliance can be a poor fit for metal, soft lining, or attachment hardware, so the label should be read with the denture type in mind.
DIY Soak Recipes Worth Skipping
A new denture wearer often hears a few home remedies from friends or family and wonders which soak is safe to trust tonight. The trouble is that DIY recipes are usually written as if every denture is the same, and that is where people get into trouble. A soak that seems harmless for one appliance can be the wrong fit for another, especially if the denture has metal, a soft liner, or attachment parts.
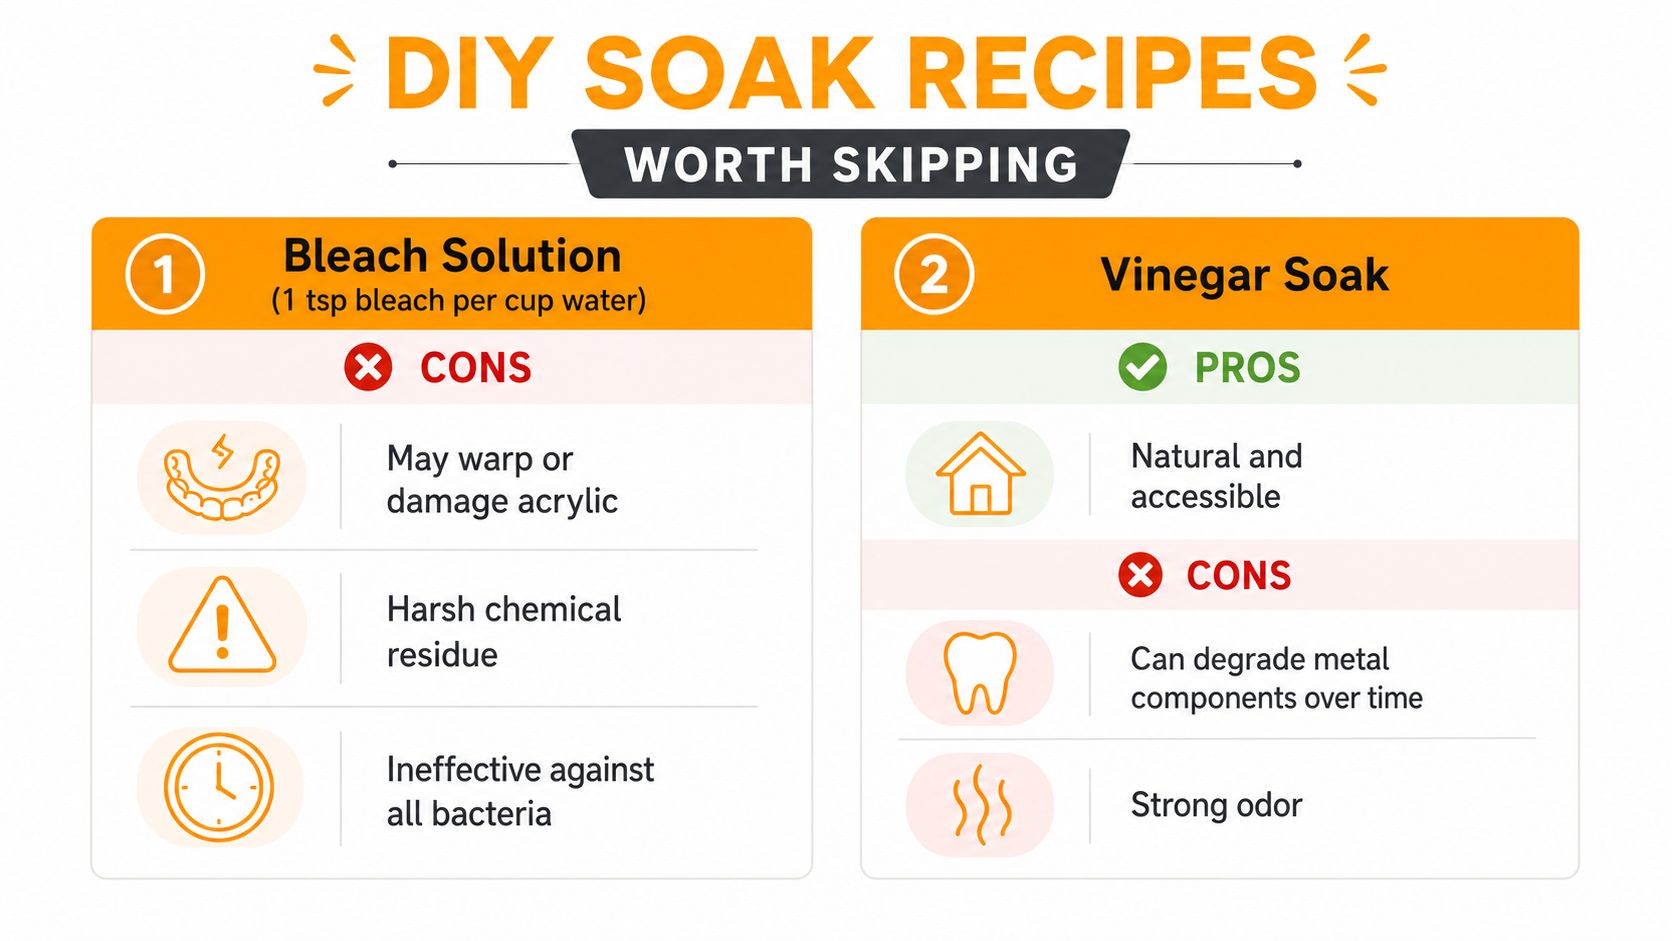
Bleach is the best-known example. Public guidance gives a very specific version for some full acrylic dentures, 1 teaspoon of bleach in 1 cup of water, soaked for 30 minutes, then rinsed thoroughly before the denture goes back in place. Even then, it belongs only in the narrow situations it was meant for, because partials with metal clasps can be damaged, and the mix is easy to get wrong if you estimate instead of measuring. Stronger exposure can also harm denture materials, so this is not a recipe to stretch beyond the instructions.
Vinegar gets recommended almost as often, usually as a diluted soak for calculus and mineral deposits. It can loosen scale, but it does little for the microbial buildup that matters most in everyday denture care. Repeated use can also dull acrylic over time, and the smell alone makes some wearers avoid it after a few tries.
The other common mistake is skipping the rinse. Any cleaner left behind can irritate the tissues in the mouth, and residue that is swallowed can cause nausea or a burning feeling, so the denture should be rinsed well before it goes back in (Mayo Clinic denture care guidance).
The safer habit is simpler. Use the denture soaking solution meant for your material, and treat home recipes as examples of what can go wrong when the soak does not match the appliance.
When Soaking Is Not Enough and You Need a Dentist
A denture can look dirty because the soaking routine is off, or because the denture itself has changed. When the same problem keeps returning after careful cleaning, home care has done its job and the appliance needs a professional check.
Pay attention to persistent odour or taste that comes back soon after cleaning, calculus that stays stuck even after brushing, sore spots that do not settle within a day or two, sudden looseness, cracks, chips, or bright red tissue under the denture. Repeated redness or soreness is a warning sign, not something to brush aside as part of normal wear. Biofilm can contribute to denture-related stomatitis when cleaning is not enough, so ongoing irritation deserves a closer look (dental hygiene review on denture care).
For removable prostheses, professional disinfection with an ultrasonic cleaner is part of routine maintenance, and guidance often places that around once a year. Implant overdentures also need their attachments checked, because worn parts can change the fit and make cleaning harder.
If the denture smells again soon after soaking, the problem is usually deeper than surface residue.
That is the point where a repair or professional clean makes sense. It does not mean the wearer has failed at home care. It means the appliance may have buildup, wear, or fit changes that a household soak cannot fix. For readers in Dulwich Hill and the Inner West, a dental practice can check the fit, clean the denture properly, and decide whether repair, relining, or adjustment is the right next step.
Your Denture Soaking Checklist to Save
A denture that looks clean on the sink still needs the right overnight routine. Start by brushing away loose debris, then place it in cool water or the correct cleanser, never hot water. The container should hold enough solution to fully cover the denture, including the borders and palate, so no part is left to dry out.
Give tablet soaks the full 6 to 8 hours, and follow the time limit your dentist gives for bleach or chlorhexidine cleansers. Rinse the denture well before putting it back in your mouth, because any leftover cleanser can irritate soft tissue. Bleach should never be used on partials with metal clasps, and the denture should not be stored dry if it still needs to stay out overnight.
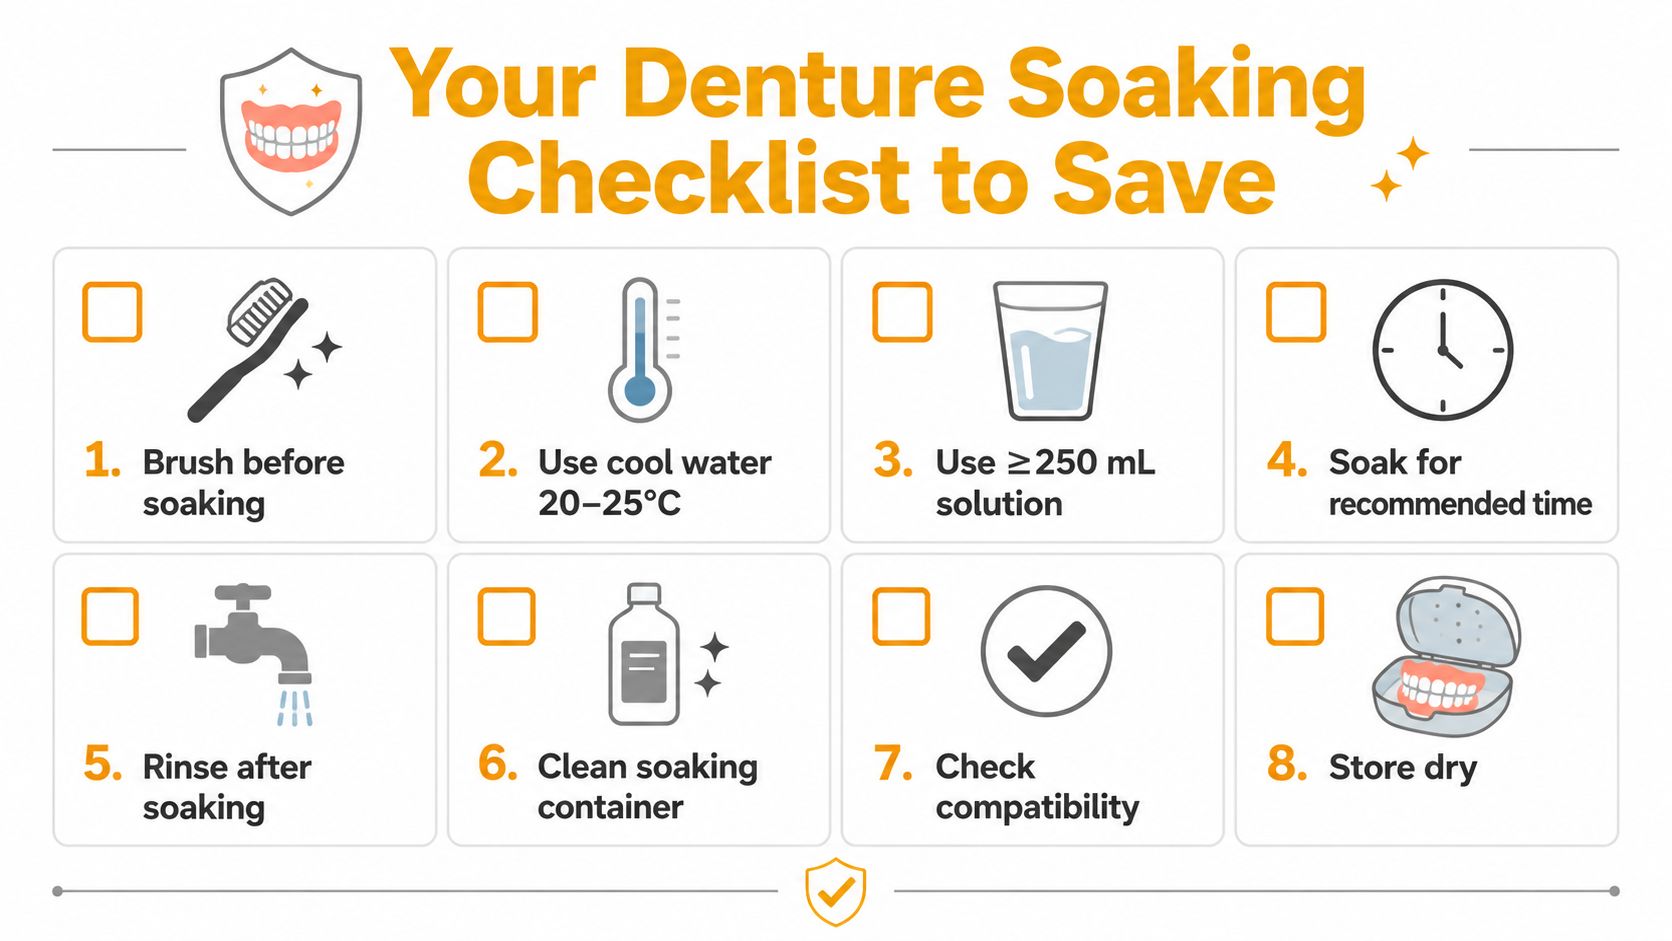
Keep the routine plain and repeatable. Brush first, soak safely, rinse well, and call a dentist if odour, soreness, looseness, or damage keeps coming back. That pattern usually means the issue is not just surface debris. Good daily soaking helps protect both the denture and your comfort, and a quick check-up is the easiest way to confirm the routine still matches the denture material and attachment type.
If your denture feels off, smells persistent after cleaning, or includes metal, soft liners, or implant attachments, book a review with The Smile Spot so the fit and cleaning method can be checked properly. The team can help you sort out whether you need a professional clean, a repair, a new denture, or a home routine that suits your denture material.